Google Summer of Code Final Work Product
- Name: João Victor Dell Agli Floriano
- Organisation: Python Software Foundation
- Sub-Organisation: FURY
- Project: FURY - Project 2. Fast 3D kernel-based density rendering using billboards.
Abstract
This project had the goal to implement a 3D Kernel Density Estimation rendering to Fury. Kernel Density Estimation, or KDE, is a statistical method that uses kernel smoothing for modeling and estimating the density distribution of a set of points defined inside a given region. For its graphical implementation, it was used post-processing techniques such as offscreen rendering to framebuffers and colormap post-processing as tools to achieve the desired results. This was completed with a functional basic KDE rendering result, that relies on a solid and easy-to-use API, as well as some additional features.
Proposed Objectives
-
First Phase : Implement framebuffer usage in FURY
- Investigate the usage of float framebuffers inside FURY's environment.
- Implement a float framebuffer API.
-
Second Phase : Shader-framebuffer integration
- Implement a shader that uses a colormap to render framebuffers.
- Escalate this rendering for composing multiple framebuffers.
-
Third Phase : KDE Calculations
- Investigate KDE calculation for point-cloud datasets.
- Implement KDE calculation inside the framebuffer rendering shaders.
- Test KDE for multiple datasets.
Objectives Completed
-
Implement framebuffer usage in FURY
The first phase, addressed from May/29 to July/07, started with the investigation of VTK's Frambuffer Object, a vital part of this project, to understand how to use it properly.
Framebuffer Objects, abbreviated as FBOs, are the key to post-processing effects in OpenGL, as they are used to render things offscreen and save the resulting image to a texture that will be later used to apply the desired post-processing effects within the object's fragment shader rendered to screen, in this case, a billboard. In the case of the Kernel Density Estimation post-processing effect, we need a special kind of FBO, one that stores textures' values as floats, different from the standard 8-bit unsigned int storage. This is necessary because the KDE rendering involves rendering every KDE point calculation to separate billboards, rendered to the same scene, which will have their intensities, divided by the number of points rendered, blended with OpenGL Additive Blending, and if a relative big number of points are rendered at the same time, 32-bit float precision is needed to guarantee that small-intensity values will not be capped to zero, and disappear.
After a month going through VTK's FBO documentation and weeks spent trying different approaches to this method, it would not work properly, as some details seemed to be missing from the documentation, and asking the community haven't solved the problem as well. Reporting that to my mentors, which unsuccessfully tried themselves to make it work, they decided it was better if another path was taken, as the 32-bit float FBO would result in a much more complicated pipeline, using VTK's WindowToImageFilter method as a workaround, described in this blogpost. This method helped the development of three new functions to Fury,
window_to_texture(),texture_to_actor()andcolormap_to_texture(), that allow the passing of different kinds of textures to Fury's actor's shaders, the first one to capture a window and pass it as a texture to an actor, the second one to pass an external texture to an actor, and the third one to specifically pass a colormap as a texture to an actor. It is important to say thatWindowToImageFilter()is not the ideal way to make it work, as this method does not seem to support float textures. However, a workaround to that is currently being worked on, as I will describe later on.Pull Requests:
-
KDE Rendering Experimental Program (needs major revision): fury-gl/fury#804
The result of this whole FBO and WindowToImageFilter experimentation is well documented in PR #804 that implements an experimental version of a KDE rendering program. The future of this PR, as discussed with my mentors, is to be better documented to be used as an example for developers on how to develop features in Fury with the tools used, and it shall be done soon.
-
-
Shader-framebuffer integration
The second phase, which initially was thought of as "Implement a shader that uses a colormap to render framebuffers" and "Escalate this rendering for composing multiple framebuffers" was actually a pretty simple phase that could be addressed in one week, July/10 to July/17, done at the same time as the third phase goal, documented in this blogpost. As Fury already had a tool for generating and using colormaps, they were simply connected to the shader part of the program as textures, with the functions explained above. Below, is the result of the
matplotlib viridiscolormap passed to a simple gaussian KDE render: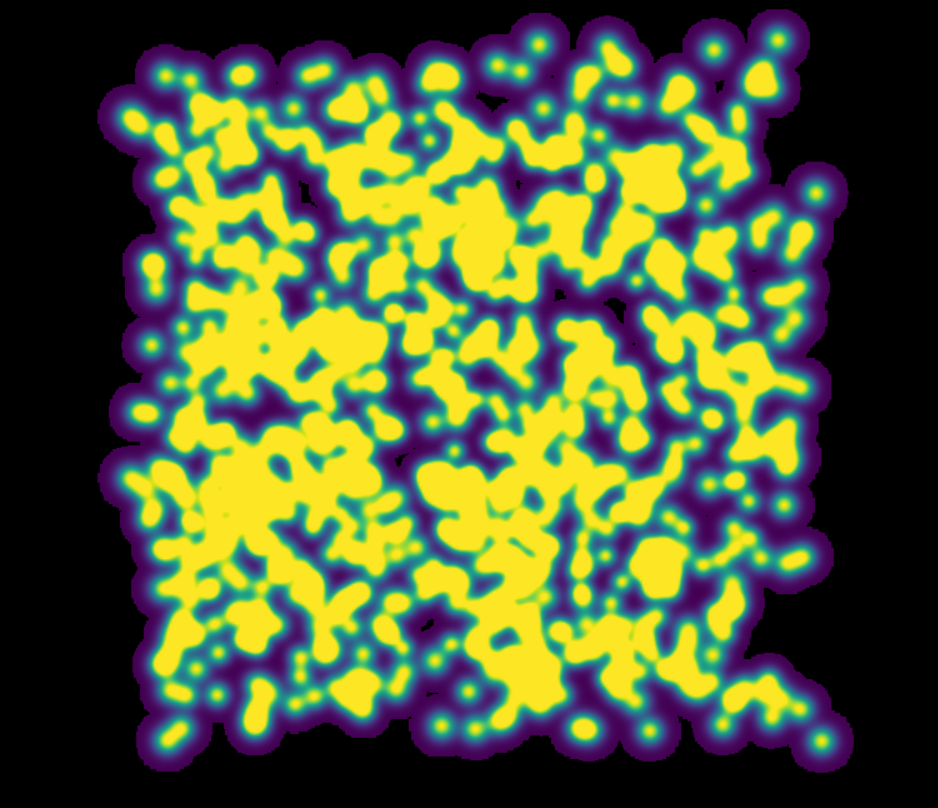
That is also included in PR #804. Having the 2D plot ready, some time was taken to figure out how to enable a 3D render, that includes rotation and other movement around the set rendered, which was solved by learning about the callback properties that exist inside
VTK. Callbacks are ways to enable code execution inside the VTK rendering loop, enclosed insidevtkRenderWindowInteractor.start(). If it is desired to add a piece of code that, for example, passes a time variable to the fragment shader over time, a callback function can be declared:from fury import window t = 0 showm = window.ShowManager(...) def callback_function: t += 0.01 pass_shader_uniforms_to_fs(t, "t") showm.add_iren_callback(callback_function, "RenderEvent")The piece of code above created a function that updates the time variable
tin every"RenderEvent", and passes it to the fragment shader. With that property, the camera and some other parameters could be updated, which enabled 3D visualization, that then, outputted the following result, usingmatplotlib infernocolormap:
-
KDE Calculations (ongoing)
As said before, the second and third phases were done simultaneously, so after having a way to capture the window and use it as a texture ready, the colormap ready, and an initial KDE render ready, all it was needed to do was to improve the KDE calculations. As this Wikipedia page explains, a KDE calculation is to estimate an abstract density around a set of points defined inside a given region with a kernel, that is a function that models the density around a point based on its associated distribution sigma.
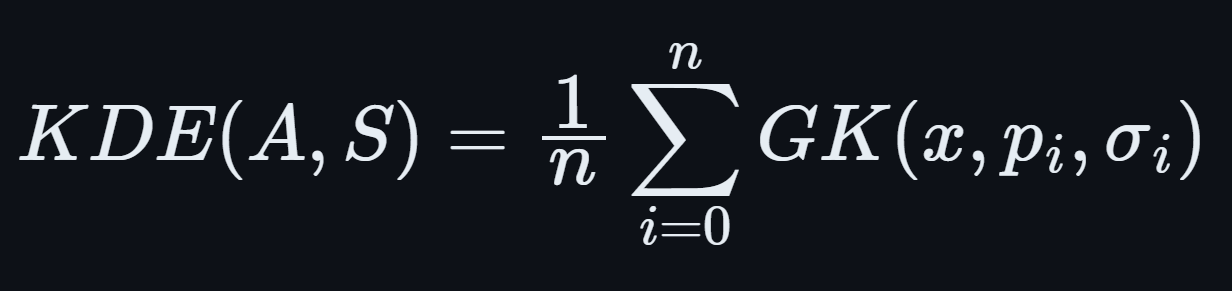
A well-known kernel is, for example, the Gaussian Kernel, that says that the density around a point p with distribution sigma is defined as:

Using that kernel, we can calculate the KDE of a set of points A with associated distributions S calculating their individual Gaussian distributions, summing them up and dividing them by the total number of points p:
So I dove into implementing all of that into the offscreen rendering part, and that is when the lack of a float framebuffer would charge its cost. As it can be seen above, just calculating each point's density isn't the whole part, as I also need to divide everyone by the total number of points p, and then sum them all. The problem is that, if the number of points its big enough, the individual densities will be really low, and that would not be a problem for a 32-bit precision float framebuffer, but that is definitely a problem for a 8-bit integer framebuffer, as small enough values will simply underflow and disappear. That issue is currently under investigation, and some solutions have already been presented, as I will show in the Objectives in Progress section.
Apart from that, after having the experimental program ready, I focused on modularizing it into a functional and simple API (without the n division for now), and I could get a good set of results from that. The API I first developed implemented the
EffectManagerclass, responsible for managing all of the behind-the-scenes steps necessary for the kde render to work, encapsulated inside theÈffectManager.kde()method. It had the following look:from fury.effect_manager import EffectManager from fury import window showm = window.ShowManager(...) # KDE rendering setup em = EffectManager(showm) kde_actor = em.kde(...) # End of KDE rendering setup showmn.scene.add(kde_actor) showm.start()Those straightforward instructions, that hid several lines of code and setup, could manage to output the following result:
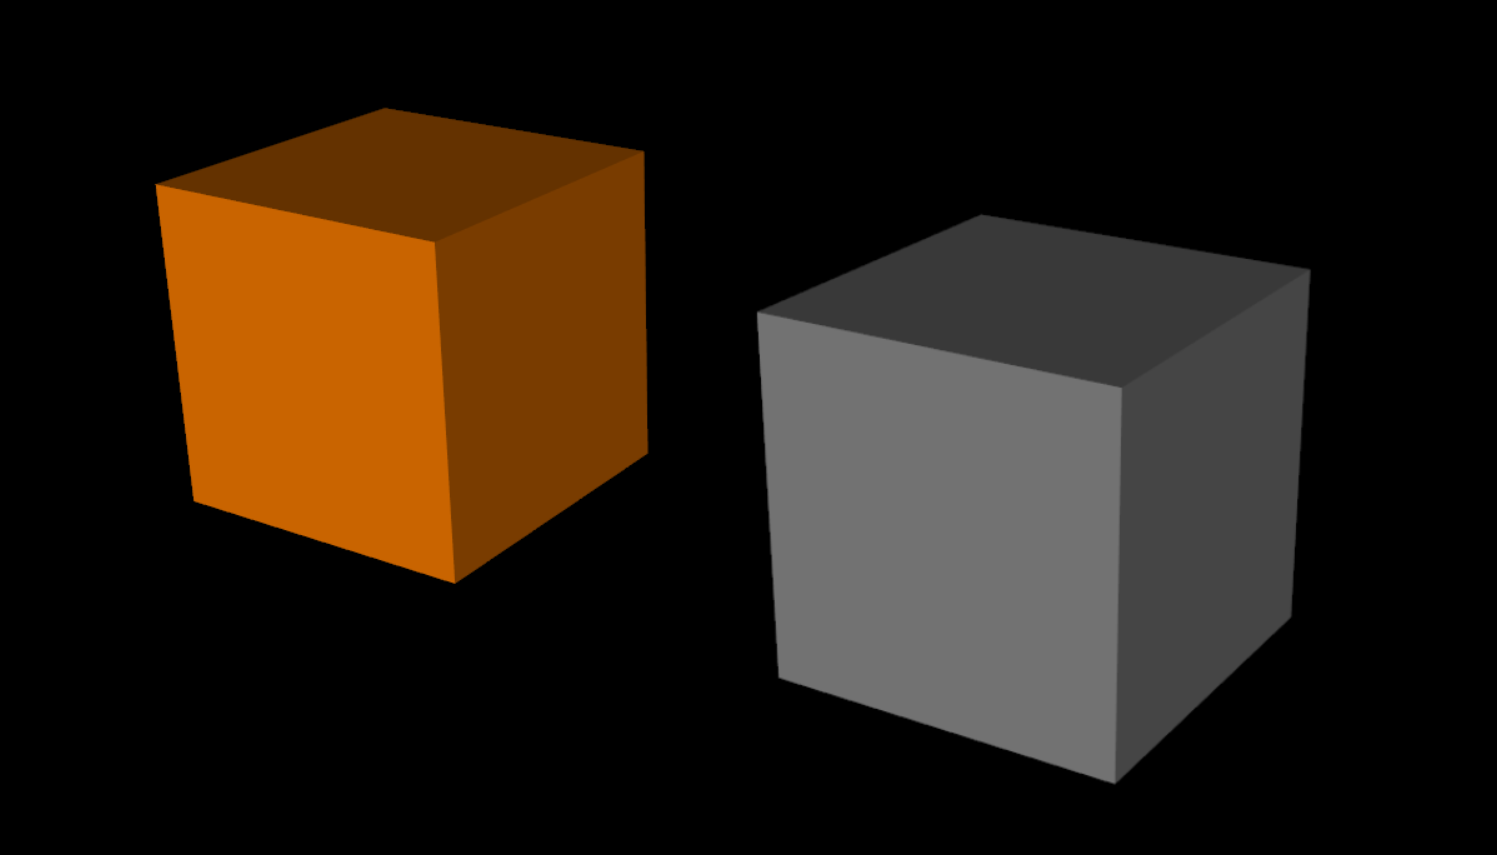
And this was not the only feature I had implemented for this API, as the use of
WindowToImageFiltermethod opened doors for a whole new world for Fury: The world of post-processing effects. With this features setup, I managed to implement a Gaussian blur effect, a grayscale effect and a Laplacian effect for calculating "borders":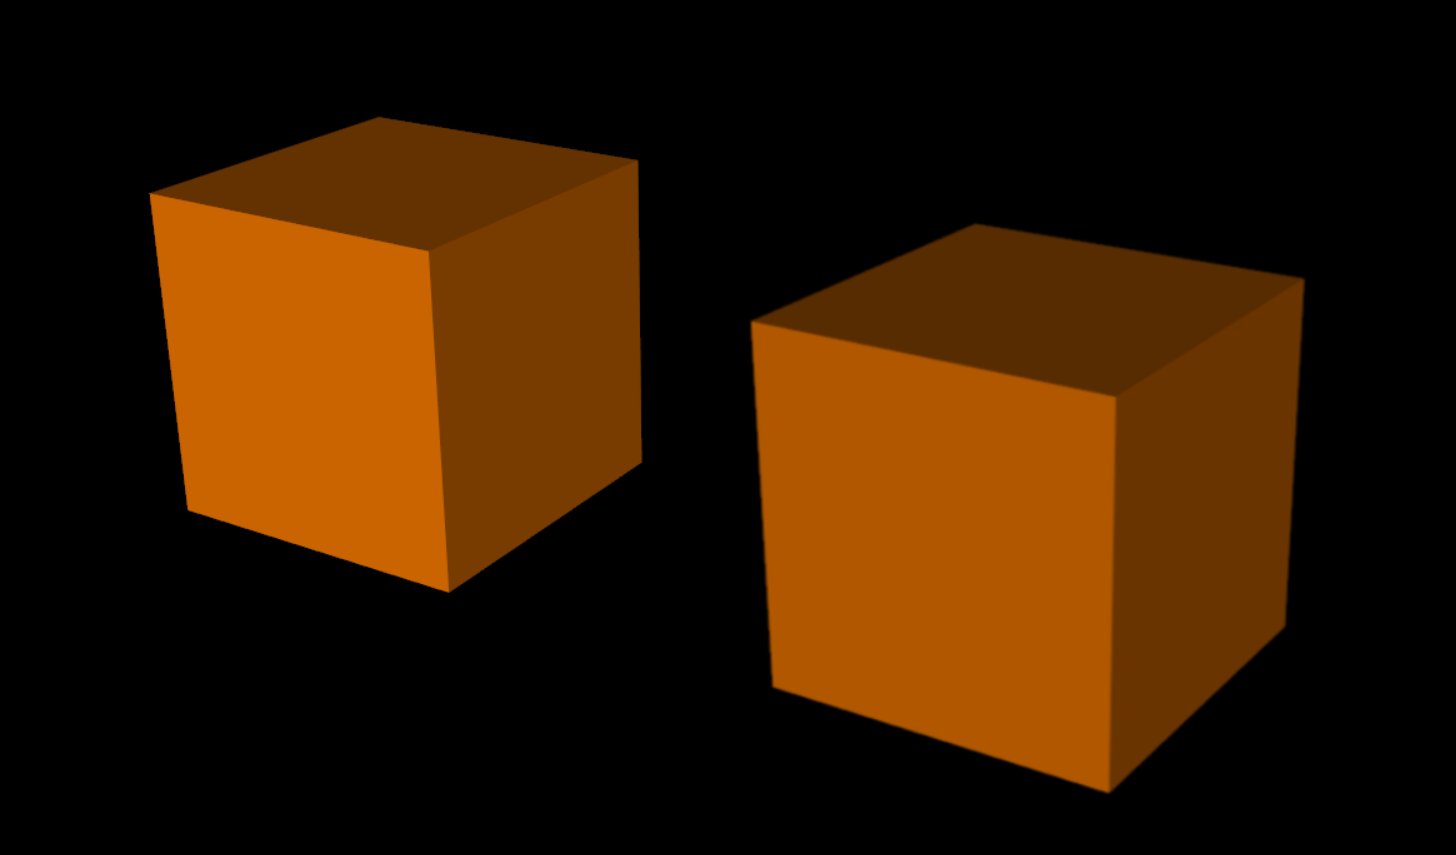
As this wasn't the initial goal of the project and I still had several issues to deal with, I have decided to leave these features as a future addition.
Talking with my mentors, we realized that the first KDE API, even though simple, could lead to bad usage from users, as the
em.kde()method, that outputted a Fury actor, had dependencies different from any other object of its kind, making it a new class of actors, which could lead to confusion and bad handling. After some pair programming sessions, they instructed me to take a similar, but different road from what I was doing, turning the kde actor into a new class, theKDEclass. This class would have almost the same set of instructions present in the prior method, but it would break them in a way it would only be completely set up after being passed to theEffectManagervia its add function. Below, how the refactoring handles it:from fury.effects import EffectManager, KDE from fury import window showm = window.ShowManager(...) # KDE rendering setup em = EffectManager(showm) kde_effect = KDE(...) em.add(kde_effect) # End of KDE rendering setup showm.start()Which outputted the same results as shown above. It may have cost some simplicity as we are now one line farther from having it working, but it is more explicit in telling the user this is not just a normal actor.
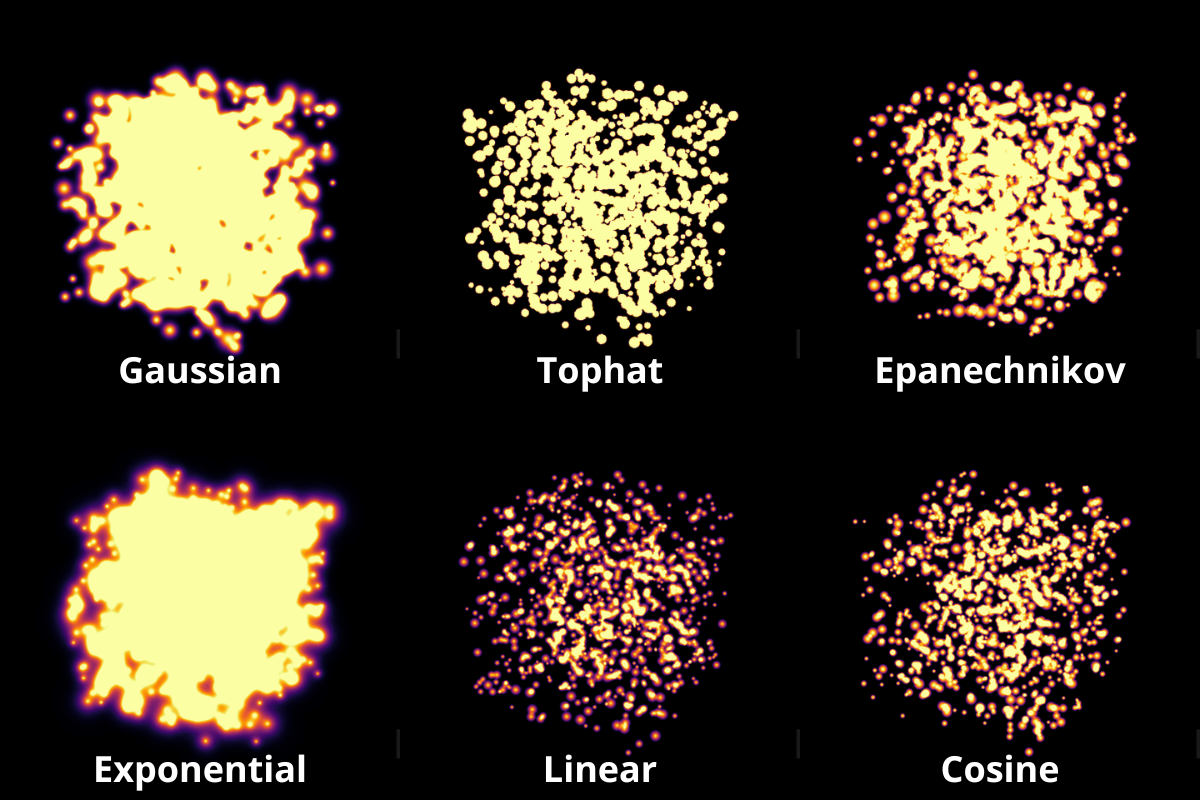
Another detail I worked on was the kernel variety. The Gaussian Kernel isn't the only one available to model density distributions, there are several others that can do that job, as it can be seen in this scikit-learn piece of documentation and this Wikipedia page on kernels. Based on the scikit-learn KDE implementation, I worked on implementing the following kernels inside our API, that can be chosen as a parameter when calling the
KDEclass:- Cosine
- Epanechnikov
- Exponential
- Gaussian
- Linear
- Tophat
Below, the comparison between them using the same set of points and bandwidths:
Pull Requests:
-
First Stage of the KDE Rendering API (will be merged soon) fury-gl/fury#826
All of this work culminated in PR #826, that proposes to add the first stage of this API (there are some details yet to be completed, like the n division) to Fury. This PR added the described API, and also proposed some minor changes to some already existing Fury functions related to callbacks, changes necessary for this and other future applications that would use it to work. It also added the six kernels described, and a simple documented example on how to use this feature.
Other Objectives
- Stretch Goals : SDE Implementation, Network/Graph visualization using SDE/KDE, Tutorials
- Investigate SDE calculation for surface datasets.
- Implement SDE calculation inside the framebuffer rendering shaders.
- Test SDE for multiple datasets.
- Develop comprehensive tutorials that explain SDE concepts and FURY API usage.
- Create practical, scenario-based tutorials using real datasets and/or simulations.
Objectives in Progress
-
KDE Calculations (ongoing)
The KDE rendering, even though almost complete, have the n division, an important step, missing, as this normalization allows colormaps to cover the whole range o values rendered. The lack of a float FBO made a big difference in the project, as the search for a functional implementation of it not only delayed the project, but it is vital for the correct calculations to work.
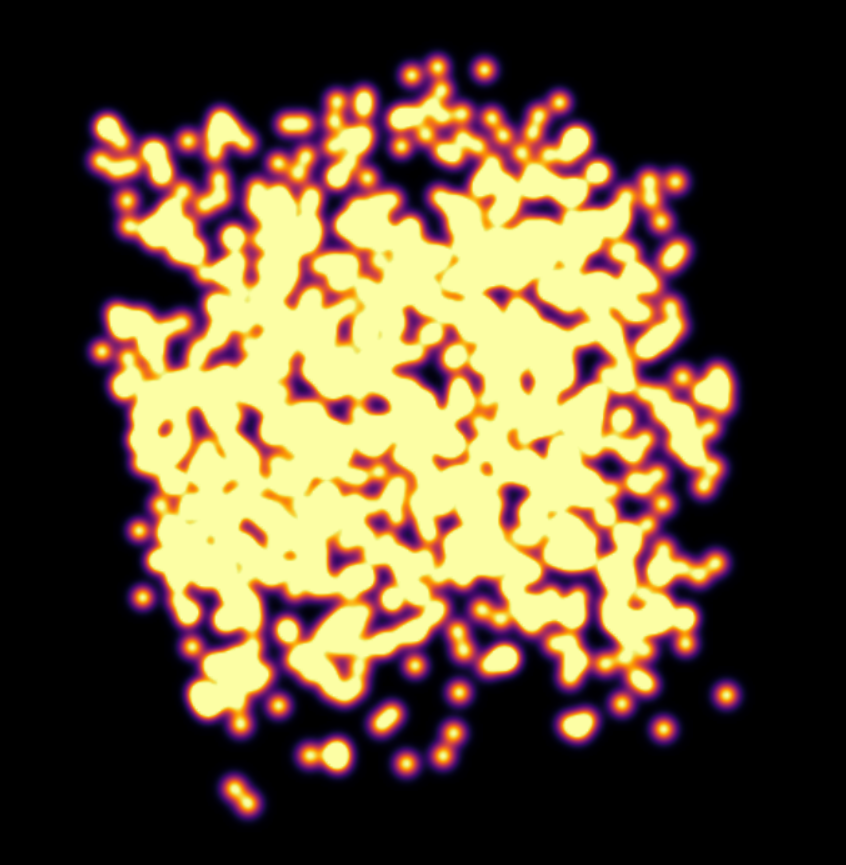
For the last part, a workaround thought was to try an approach I later figured out is an old one, as it can be check in GPU Gems 12.3.3 section: If I need 32-bit float precision and I got 4 8-bit integer precision available, why not trying to pack this float into this RGBA texture? I have first tried to do one myself, but it didn't work for some reason, so I tried Aras Pranckevičius implementation, that does the following:
vec4 float_to_rgba(float value) {
   vec4 bitEnc = vec4(1.,256.,65536.0,16777216.0);
   vec4 enc = bitEnc * value;
   enc = fract(enc);
   enc -= enc.yzww * vec2(1./255., 0.).xxxy;
   return enc;
}
That initially worked, but for some reason I am still trying to understand, it is resulting in a really noisy texture:
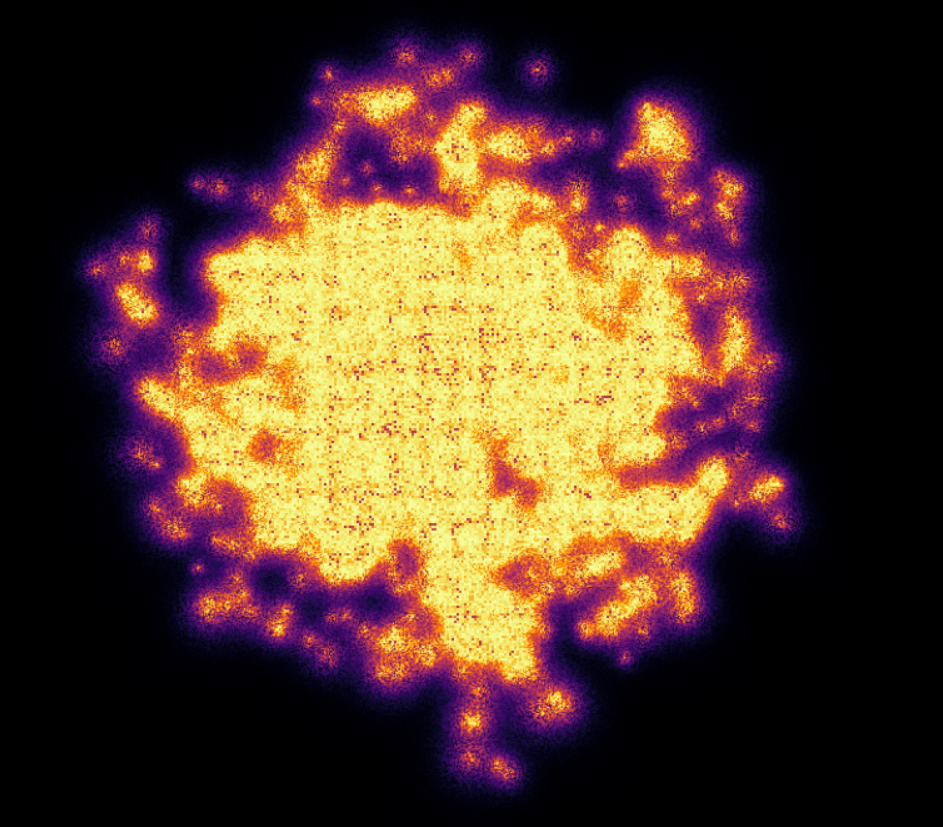
One way to try to mitigate that while is to pass this by a gaussian blur filter, to try to smooth out the result:
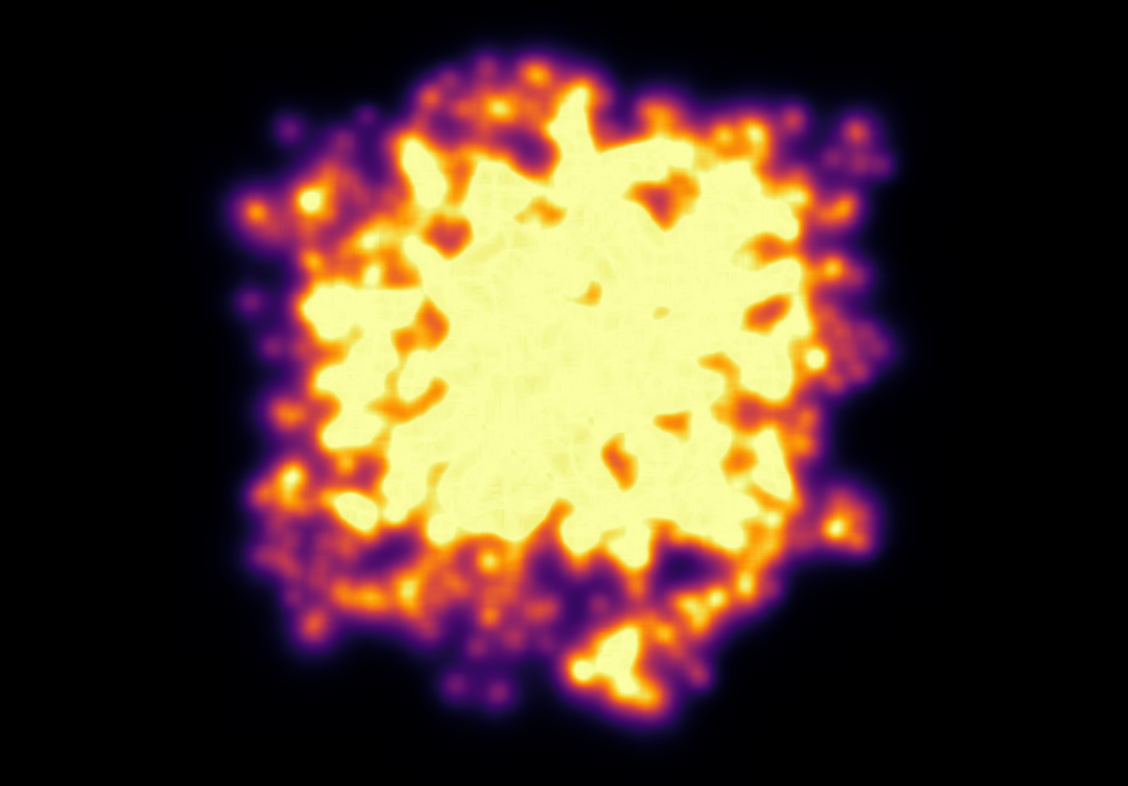
But it is not an ideal solution as well, as it may lead to distortions in the actual density values, depending on the application of the KDE. Now, my goal is to first find the root of the noise problem, and then, if that does not work, try to make the gaussian filter work.
Another detail that would be a good addition to the API is UI controls. Filipi, one of my mentors, told me it would be a good feature if the user could control the intensities of the bandwidths for a better structural visualization of the render, and knowing Fury already have a good set of UI elements, I just neeeded to integrate that into my program via callbacks. I tried implementing an intensity slider. However, for some reason, it is making the program crash randomly, for reasons I still don't know, so that is another issue under investigation. Below, we show a first version of that feature, which was working before the crashes:
Pull Requests:
- UI intensity slider for the KDE rendering API (draft): fury-gl/fury#849
- Post-processing effects for FURY Effects API (draft): fury-gl/fury#850
GSoC Weekly Blogs
- My blog posts can be found at FURY website and Python GSoC blog.
Timeline
| Date | Description | Blog Link |
|---|---|---|
| Week 0 (29-05-2023) | The Beginning of Everything | FURY - Python |
| Week 1 (05-06-2022) | The FBO Saga | FURY - Python |
| Week 2 (12-06-2022) | The Importance of (good) Documentation | FURY - Python |
| Week 3 (19-06-2022) | Watch Your Expectations | FURY - Python |
| Week 4 (26-06-2022) | Nothing is Ever Lost | FURY - Python |
| Week 5 (03-07-2022) | All Roads Lead to Rome | FURY - Python |
| Week 6 (10-07-2022) | Things are Starting to Build Up | FURY - Python |
| Week 7 (17-07-2022) | Experimentation Done | FURY - Python |
| Week 8 (24-07-2022) | The Birth of a Versatile API | FURY - Python |
| Week 9 (31-07-2022) | It is Polishing Time! | FURY - Python |
| Week 10 (07-08-2022) | Ready for Review! | FURY - Python |
| Week 11 (14-08-2022) | A Refactor is Sometimes Needed | FURY - Python |
| Week 12 (21-08-2022) | Now That is (almost) a Wrap! | FURY - Python |